# Resources
Avo effortlessly empowers you to build a full admin dashboard for your Ruby on Rails application. One of the most powerful features is how easy you can administer your database records. Avo does this using Resources. Each resource maps out one of your models.
# Defining Resources
bin/rails generate avo:resource post
This command will generate a resource file under your app/avo/resources directory. The app/avo directory will hold all of your Avo configuration files.
Inside the creates resource file will look like so:
module Avo
  module Resources
    class Post < Resource
      def initialize
        @title = :id
        @search = :id
      end

      fields do
        id :id
      end
    end
  end
end
From this config, Avo will infer that the resource's model will be the Post model.
# Setting the title of the resource
Initially, the @title attribute is set to :id, so the model's id attribute will be used to display the resource in search results and belongs select fields. You usually change it to something more representative, like the model's title or name attributes.
# Search
Using the @search property you can tell Avo which fields it should look through when doing a search on this resource.
# Eager loading
If you regularly need access to a resource's relations, you tell Avo to eager load those relations on the index screen using @includes in your initializer.
def initialize
  @includes = [:user, :tags]
end
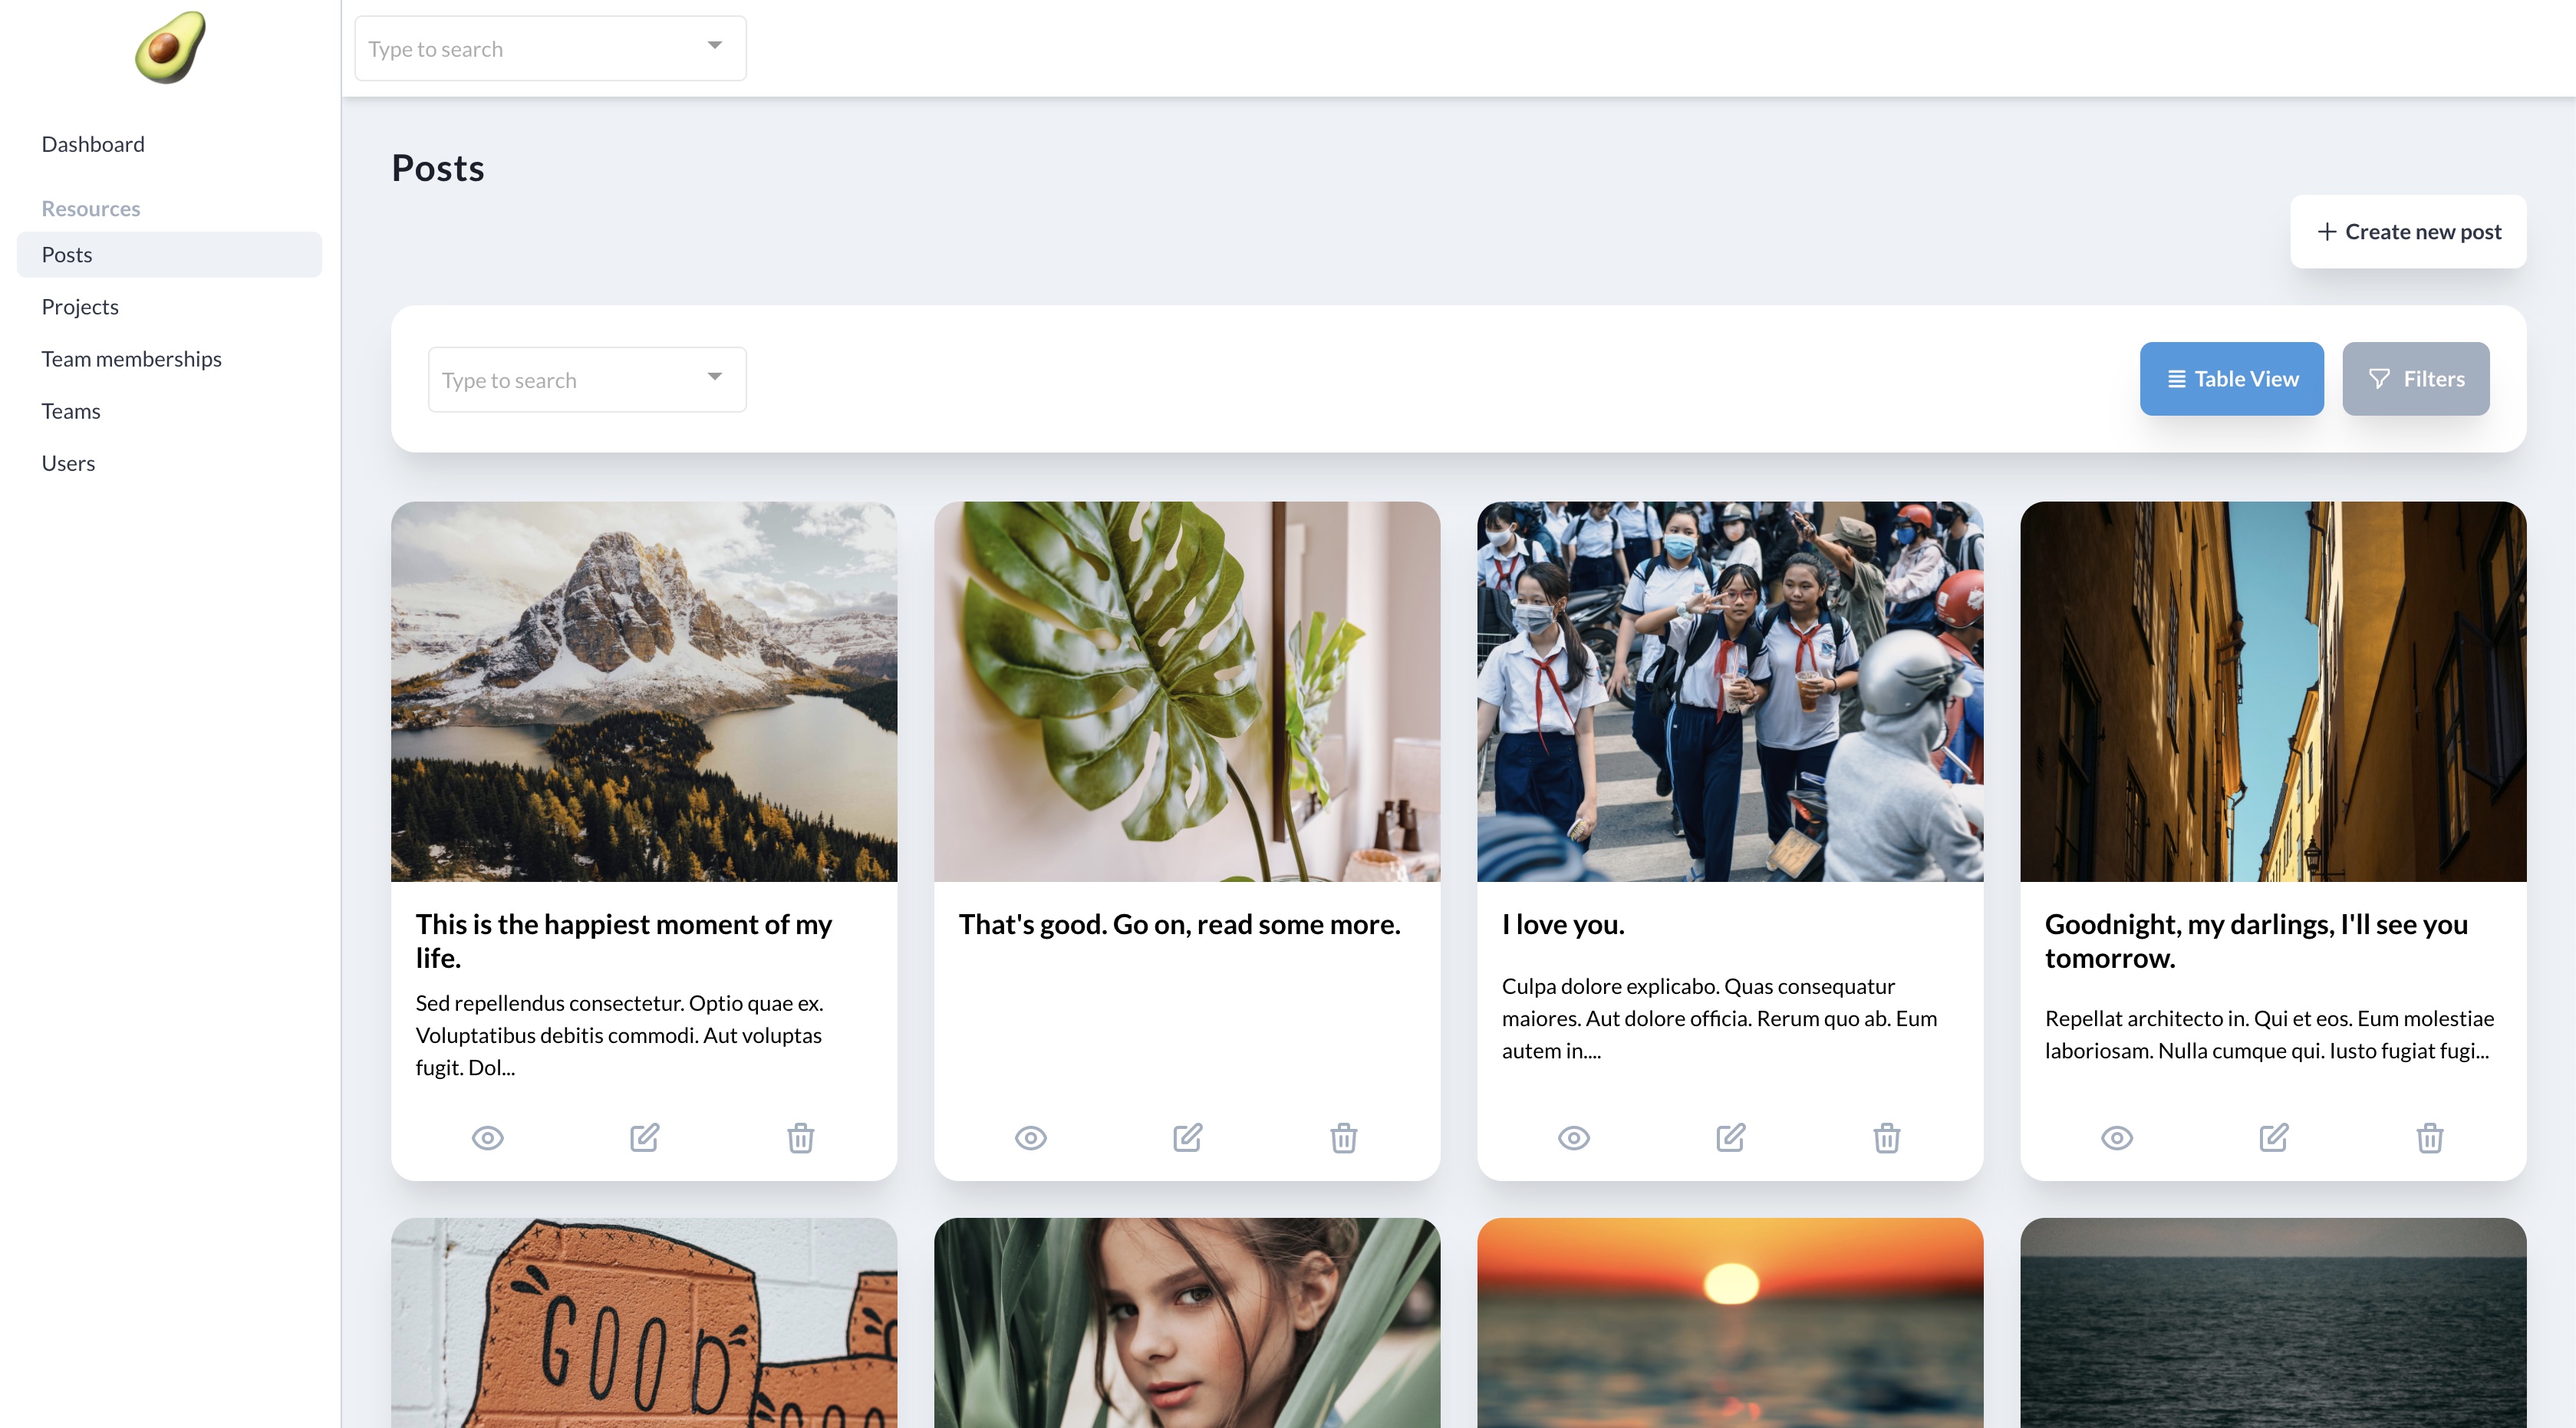
# Views
Each generated resource will have four views Index view where you see all your resources listed, Show view where you get to see one resource in more detail, Edit view where you can edit one resource and Create view where you can create a new resource.
# Grid view
On Index view, the most common view type is :table. But you might have some data that you want to display it in a grid view. You change that by setting @default_view_type.
@default_view_type = :grid
Check out the additional grid view documentation.
# Custom model
You might have a model that belongs to a namespace or that has a different name than than the resource. For those occasions you can use the @model option to tell Avo which model to reference.
module Avo
  module Resources
    class DelayedJob < Resource
      def initialize
        @model = Delayed::Job
      end

      fields do
        id
        number :priority, readonly: true
        number :attempts, readonly: true
        code :handler, readonly: true, language: :yaml
        code :last_error, readonly: true, language: :shell
        datetime :run_at, readonly: true
        datetime :locked_at, readonly: true
        datetime :failed_at, readonly: true
        text :locked_by, readonly: true
        text :queue, readonly: true
      end

      use_action Avo::Actions::RetryJob
    end
  end
end
# Filters
It's a very common scenario to add filters to your resources to make it easier to find your records. This is very easy with Avo.
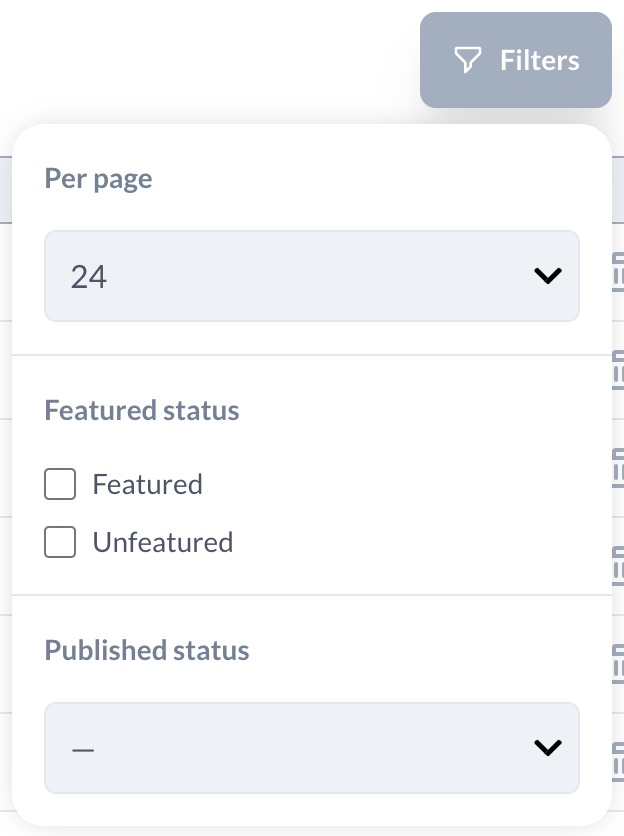
Check out the additional Filters documentation.
# Actions
Most of the time, you will want to trigger some events against your records or run more heavy updates. Avo makes this so easy with Actions.
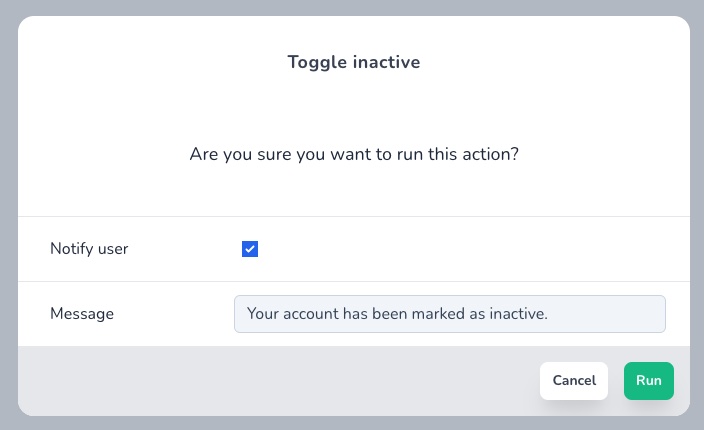
Check out the additional Actions documentation.