# Resources
- Defining Resources
- Setting the title of the resource
- Resource description
- Using a computed title
- Eager loading
- Views
- Custom model class
- Devise password optional
- Unscoped queries on Index
- Hide resource from sidebar
- Extend the Avo::ResourcesController
- Records ordering
- Show buttons on form footers
- Customize what happens after record is created/edited
- Hide the record selector checkbox
- Filters
- Actions
- Search
Avo effortlessly empowers you to build a full admin dashboard for your Ruby on Rails application. One of the most powerful features is how easy you can administer your database records. Avo does this using Resources. Each resource maps out one of your models.
# Defining Resources
bin/rails generate avo:resource post
This command will generate a resource file under your app/avo/resources directory. The app/avo directory will have all of your Avo resource files.
The created resource file will have the following code:
class PostResource < Avo::BaseResource
  self.title = :id
  self.includes = []

  field :id, as: :id
  # add fields here
end
From this config, Avo will infer that the resource's model will be the Post model.
You can add more fields to this resource below the id field.
class PostResource < Avo::BaseResource
  self.title = :id
  self.includes = []

  field :id, as: :id
  field :name, as: :text, required: true
  field :body, as: :trix, placeholder: "Add the post body here", always_show: false
  field :cover_photo, as: :file, is_image: true, link_to_resource: true
  field :is_featured, as: :boolean

  field :is_published, as: :boolean do |model|
    model.published_at.present?
  end

  field :user, as: :belongs_to, placeholder: "—"
end
# Setting the title of the resource
Initially, the title attribute is set to :id, so the model's id attribute will be used to display the resource in search results and belongs select fields. You usually change it to something more representative, like the model's title, name or label attributes.
class PostResource < Avo::BaseResource
  self.title = :name # it will now reference @post.name to show you the title
end
# Resource description
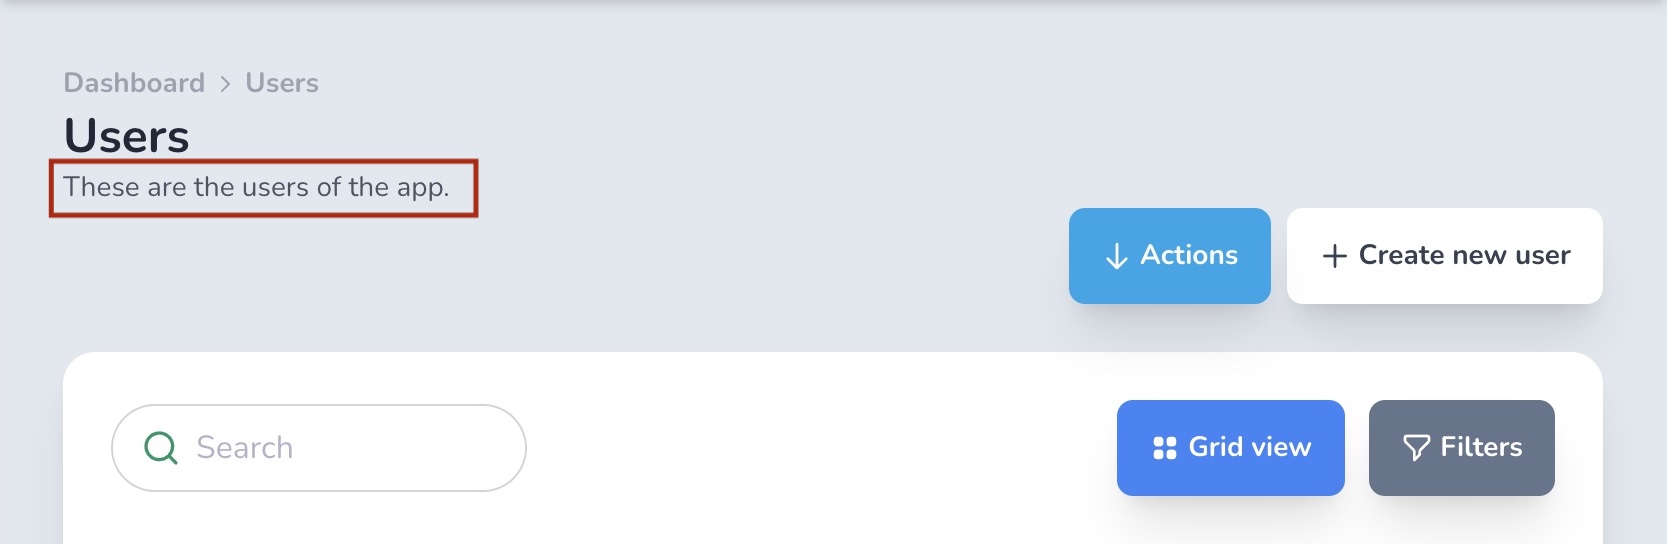
You might want to display some information about the current resource to your users. Using the description class attribute, you can add some text to the Index, Show, Edit, and New views.
There are two ways of setting the description. The quick way as a string and the more customizable way as a block.
# Set the description as a string
class UserResource < Avo::BaseResource
  self.title = :name
  self.description = "These are the users of the app."
end
This is the quick way to set the label, and it will be displayed only on the Index page. If you want to show the message on all views, use the block method.
# Set the description as a block
This is the more customizable method where you have access to the model, view, user (the current user), and params objects.
class UserResource < Avo::BaseResource
  self.title = :name
  self.description = -> {
    if view == :index
    "These are the users of the app"
    else
      if user.is_admin?
        "You can update all properties for this user: #{model.id}"
      else
        "You can update some properties for this user: #{model.id}"
      end
    end
  }
end
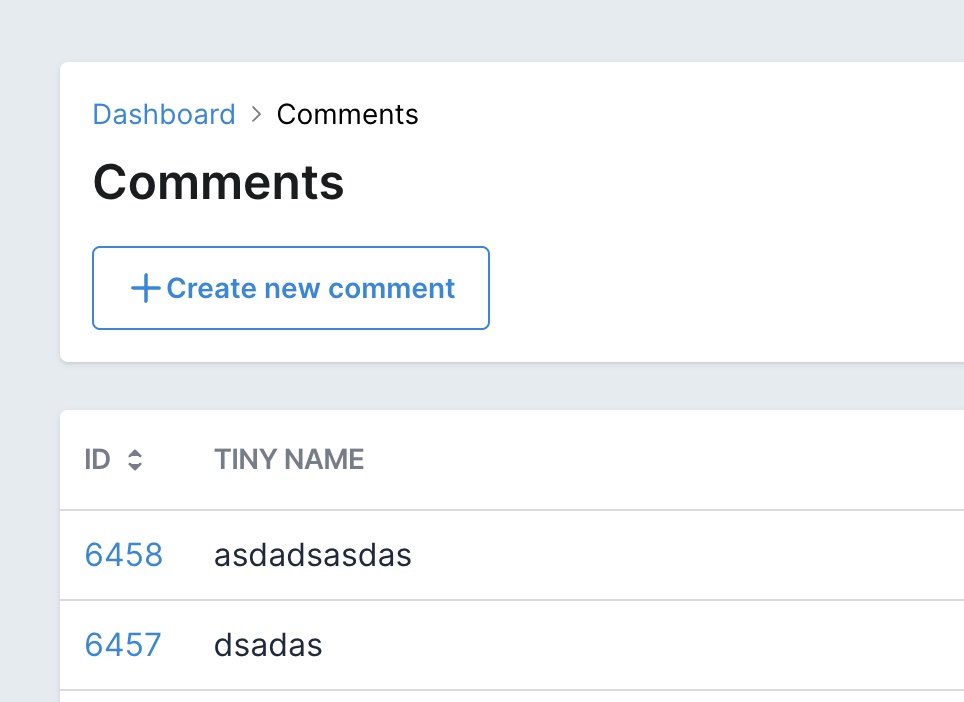
# Using a computed title
You can use a computed title property for your resources if the field that is the title is not that unique.
# app/avo/resources/comment_resource.rb
class CommentResource < Avo::BaseResource
  self.title = :tiny_name

  # field go here
end

# app/models/comment.rb
class Comment < ApplicationRecord
  def tiny_name
    ActionView::Base.full_sanitizer.sanitize(body).truncate 30
  end
end
# Eager loading
If you regularly need access to a resource's associations, you can tell Avo to eager load those associations on the Index view using includes. This will help you avoid those nasty n+1 performance issues.
class PostResource < Avo::BaseResource
  self.includes = [:user, :tags]
end
# Views
Each generated resource will have four views Index view where you see all your resources listed, Show view where you get to see one resource in more detail, Edit view where you can edit one resource and Create view where you can create a new resource.
# Grid view
On Index view, the most common view type is :table. You might have some data that you want to display in a grid view. You change that by setting default_view_type to :grid and add the grid block.
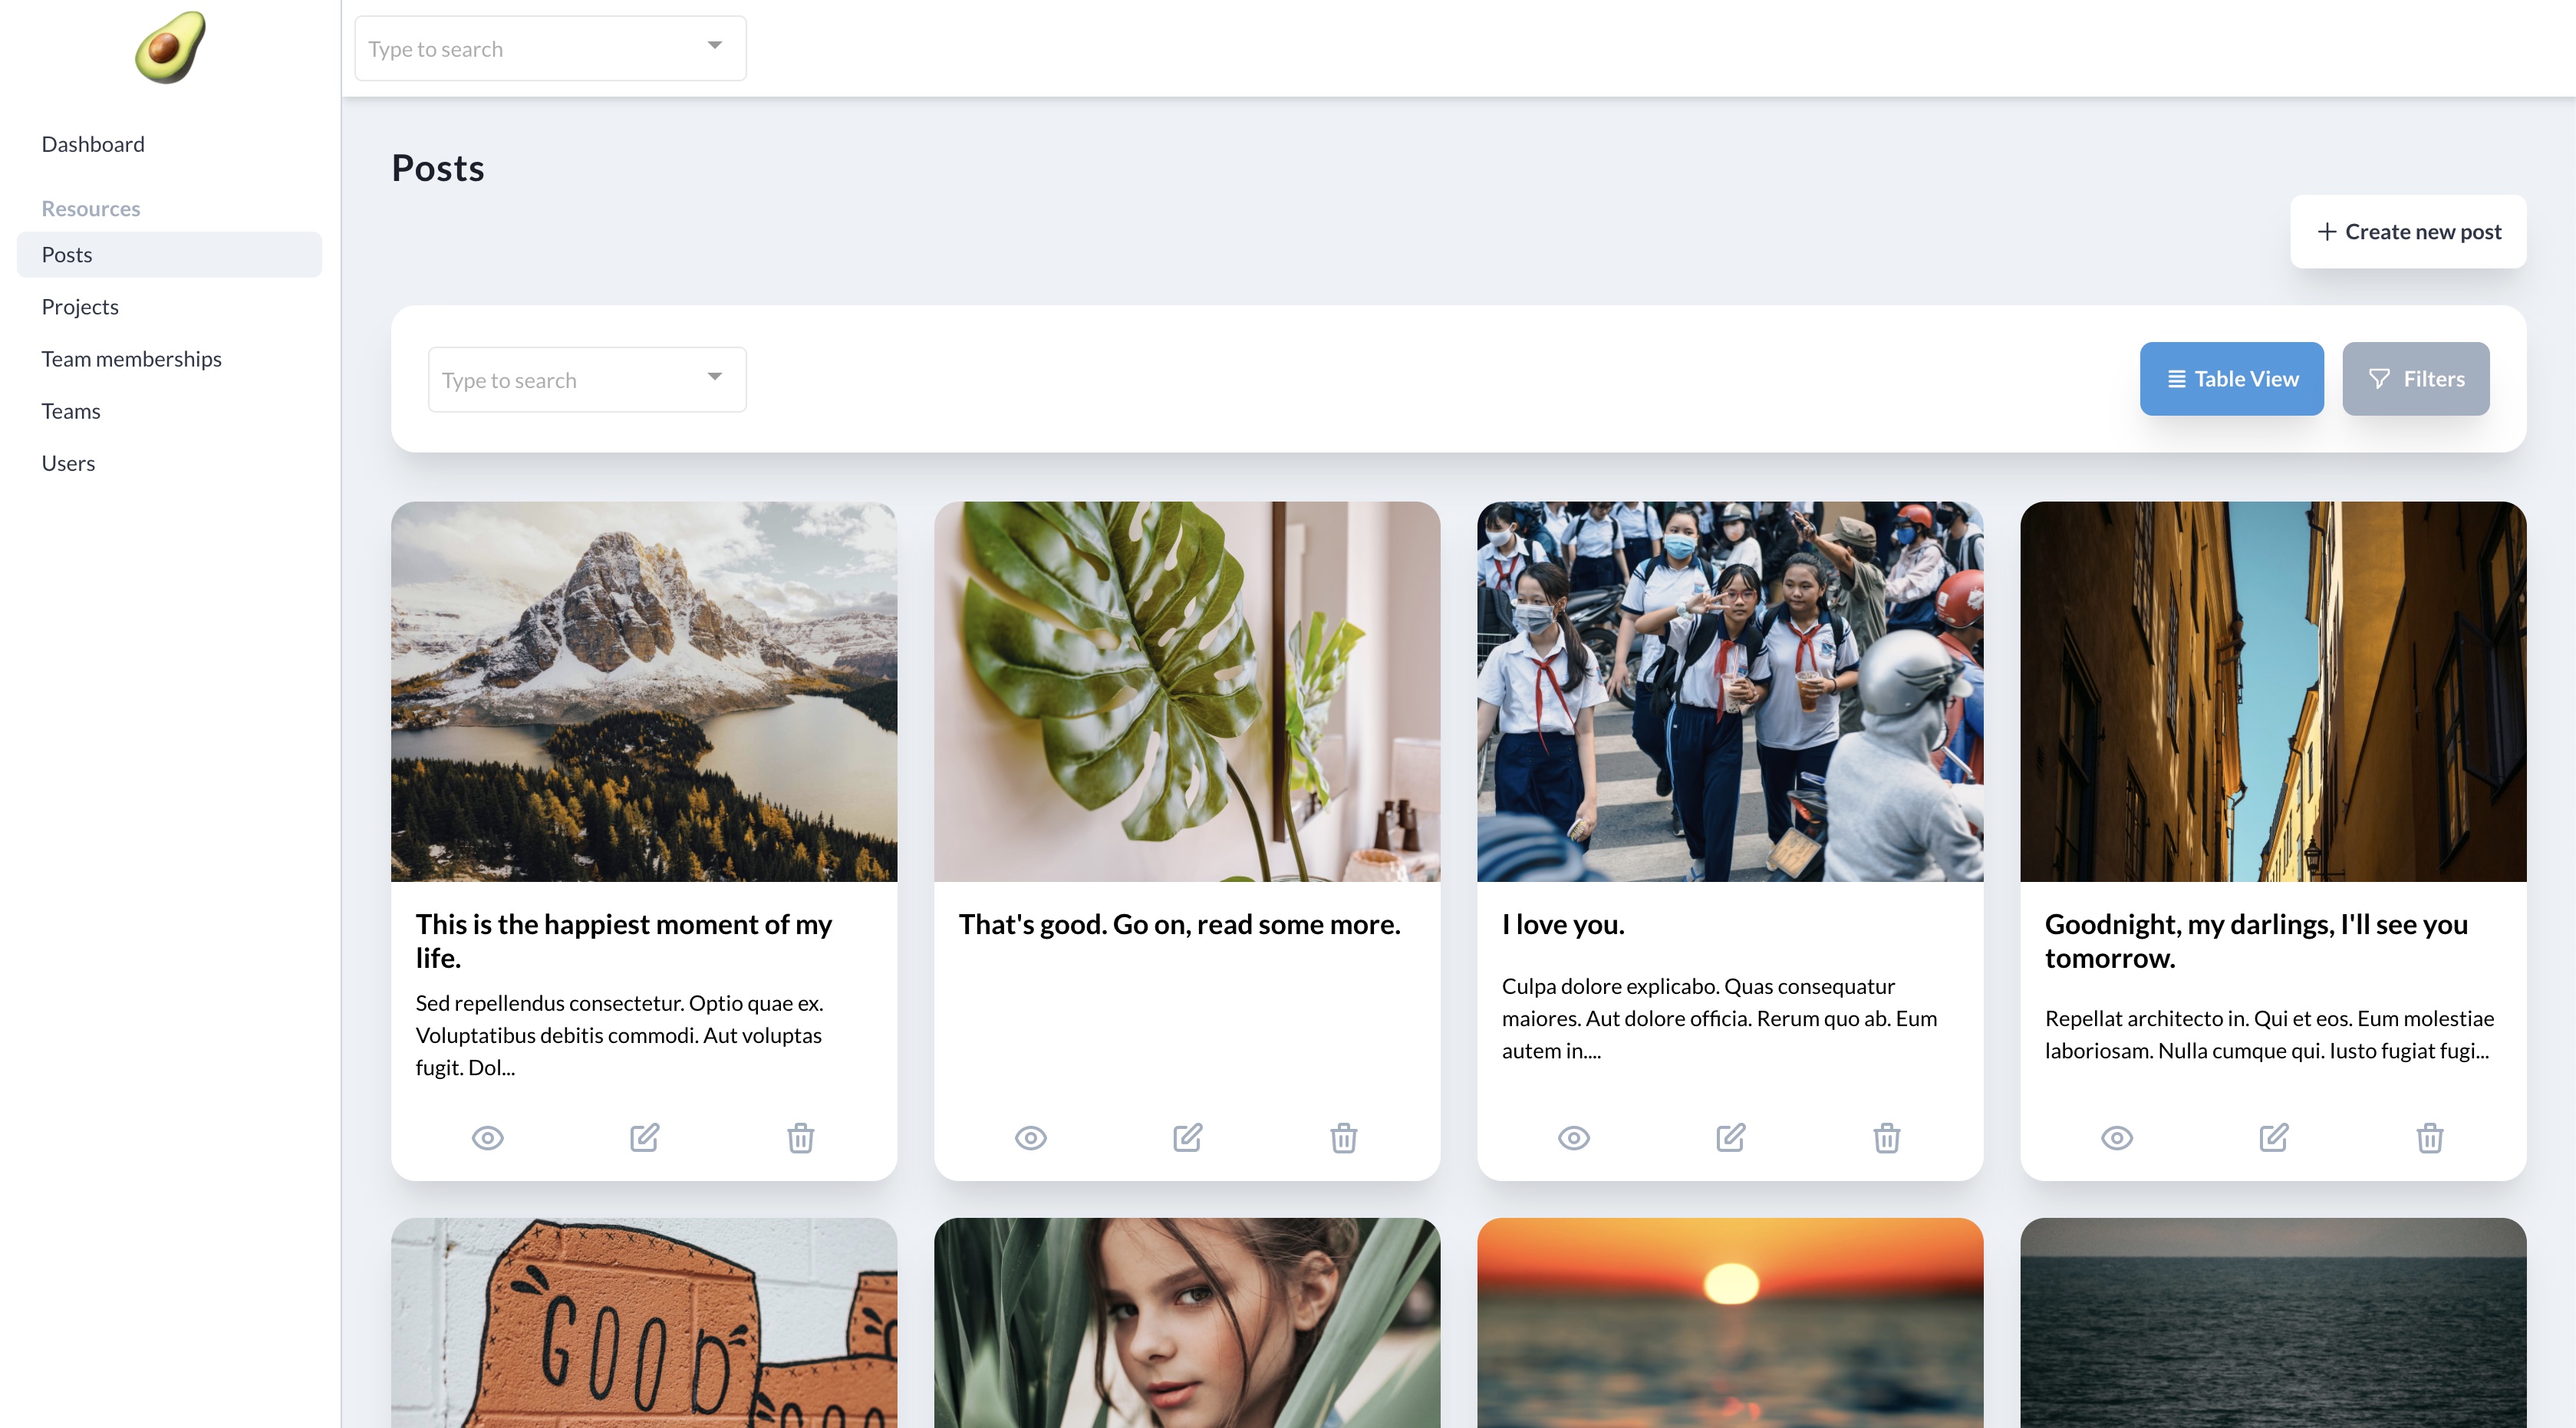
class PostResource < Avo::BaseResource
  self.default_view_type = :grid
end
See how you can customize the grid item in the additional grid view documentation.
# Custom model class
You might have a model that belongs to a namespace or that has a different name than than the resource. For those occasions you can use the @model option to tell Avo which model to reference.
class DelayedJobResource < Avo::BaseResource
  self.model_class = ::Delayed::Job

  field :id, as: :id
  # ... other fields go here
end
# model_class with namespace
Because the controllers are generated, when changing the model_class for a resource, you might brake the model->route link, so make sure you update the controller too.
# app/avo/resources/store_resource.rb
class StoreResource < Avo::BaseResource
  self.model_class = Spree::Store
end

# Before
# app/controllers/avo/stores_controller.rb
class Avo::StoresController < Avo::ResourcesController
end

# After
# app/controllers/avo/spree_stores_controller.rb
class Avo::SpreeStoresController < Avo::ResourcesController
end
# Devise password optional
If you use devise and you update your user models (usually User) without passing a password you will get a validation error. You can use devise_password_optional to stop receiving that error. It will strip out (opens new window) the password key from params.
class UserResource < Avo::BaseResource
  self.devise_password_optional = true
end
# Unscoped queries on Index
You might have a default_scope on your model and you don't want it to be applied to your resource when rendered on the Index view.
class Project < ApplicationRecord
  default_scope { order(name: :asc) }
end
You can unscope the query using the unscoped_queries_on_index (defaults to false) class variable on that resource.
class ProjectResource < Avo::BaseResource
  self.title = :name
  self.unscoped_queries_on_index = true

  # fields go here
end
# Hide resource from sidebar
You may hide a resource from the sidebar using the visible_on_sidebar class attribute.
class TeamMembershipResource < Avo::BaseResource
  self.title = :id
  self.visible_on_sidebar = false

  # fields declaration
end
Warning: This option is for the generated menu, not for the menu editor. You have to use your own logic in the visible block for that.
# Extend the Avo::ResourcesController
You may need to execute additional actions on the ResourcesController before loading the Avo pages. You can do that by creating an Avo::BaseResourcesController and extend your resource controller from it.
# app/controllers/avo/base_resources_controller.rb
class Avo::BaseResourcesController < Avo::ResourcesController
  include AuthenticationController::Authentication

  before_action :is_logged_in?
end

# app/controllers/avo/posts_controller.rb
class Avo::PostsController < Avo::BaseResourcesController
end
You can't use Avo::BaseController and Avo::ResourcesController as your base controller. They are defined inside Avo.
# Records ordering
Requires V 1.24.2 +
A typical scenario is when you need to set your records into a specific order. Like re-ordering Slides inside a Carousel or MenuItems inside a Menu.
The ordering class attribute is your friend for this. You can set four actions higher, lower, to_top or to_bottom, and the display_inline and visible_on options.
The actions themselves are simple lambda functions but coupled with your logic or an ordering gem, they can be quite powerful.
I'll demonstrate the ordering feature using the act_as_list gem.
You need to install and configure the gem as instructed in the tutorials (opens new window). Please make sure you give all records position attribut values (opens new window) so the gem works appropriately.
Next, you add the order actions like below.
class CourseLinkResource < Avo::BaseResource
  self.ordering = {
    visible_on: :index,
    actions: {
      higher: -> { record.move_higher },
      lower: -> { record.move_lower },
      to_top: -> { record.move_to_top },
      to_bottom: -> { record.move_to_bottom },
    }
  }
end
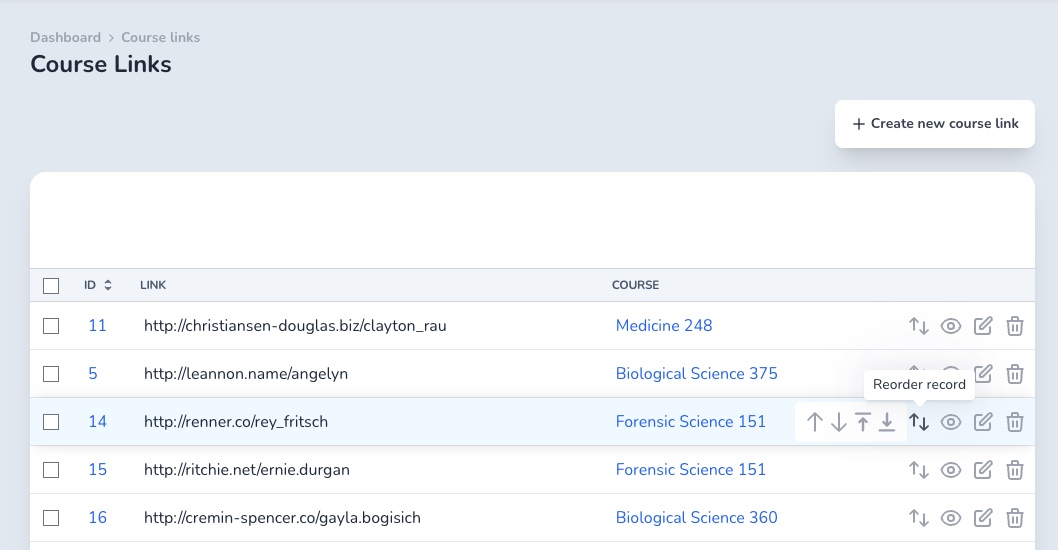
The record is the actual instantiated model. The move_higher, move_lower, move_to_top, and move_to_bottom methods are provided by act_as_list. If you're not using that gem, you can add your own logic inside to change the position of the record.
The actions have access to record, resource, options (the ordering class attribute) and params (the request params).
That configuration will generate a button with a popover containing the ordering buttons.
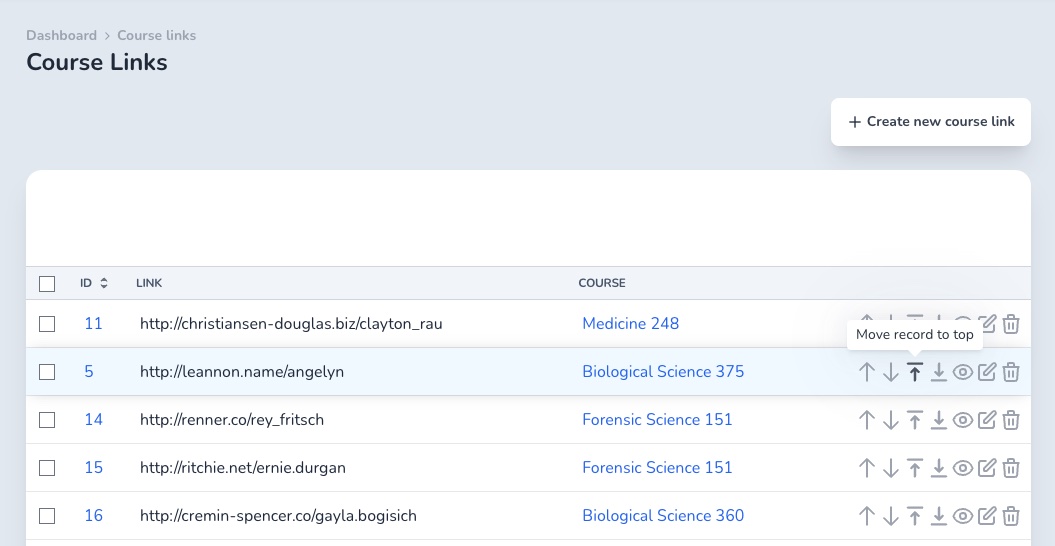
# Always show the order buttons
If the resource you're trying to update requires re-ordering often, you can have the buttons visible at all times using the display_inline: true option.
class CourseLinkResource < Avo::BaseResource
  self.ordering = {
    display_inline: true,
    visible_on: :index,
    actions: {
      higher: -> (record) { record.move_higher },
      lower: -> (record) { record.move_lower },
      to_top: -> (record) { record.move_to_top },
      to_bottom: -> (record) { record.move_to_bottom },
    }
  }
end
# Display the buttons in the Index view or association view
A common scenario is to order the records only in the scope of a parent record like order the MenuItems for a Menu or Slides for a Slider. So you wouldn't need to have the order buttons on the Index view but only in the association section.
To control that you can use the visible_on option. THe possible values are :index, :association or [:index, :association] for both views.
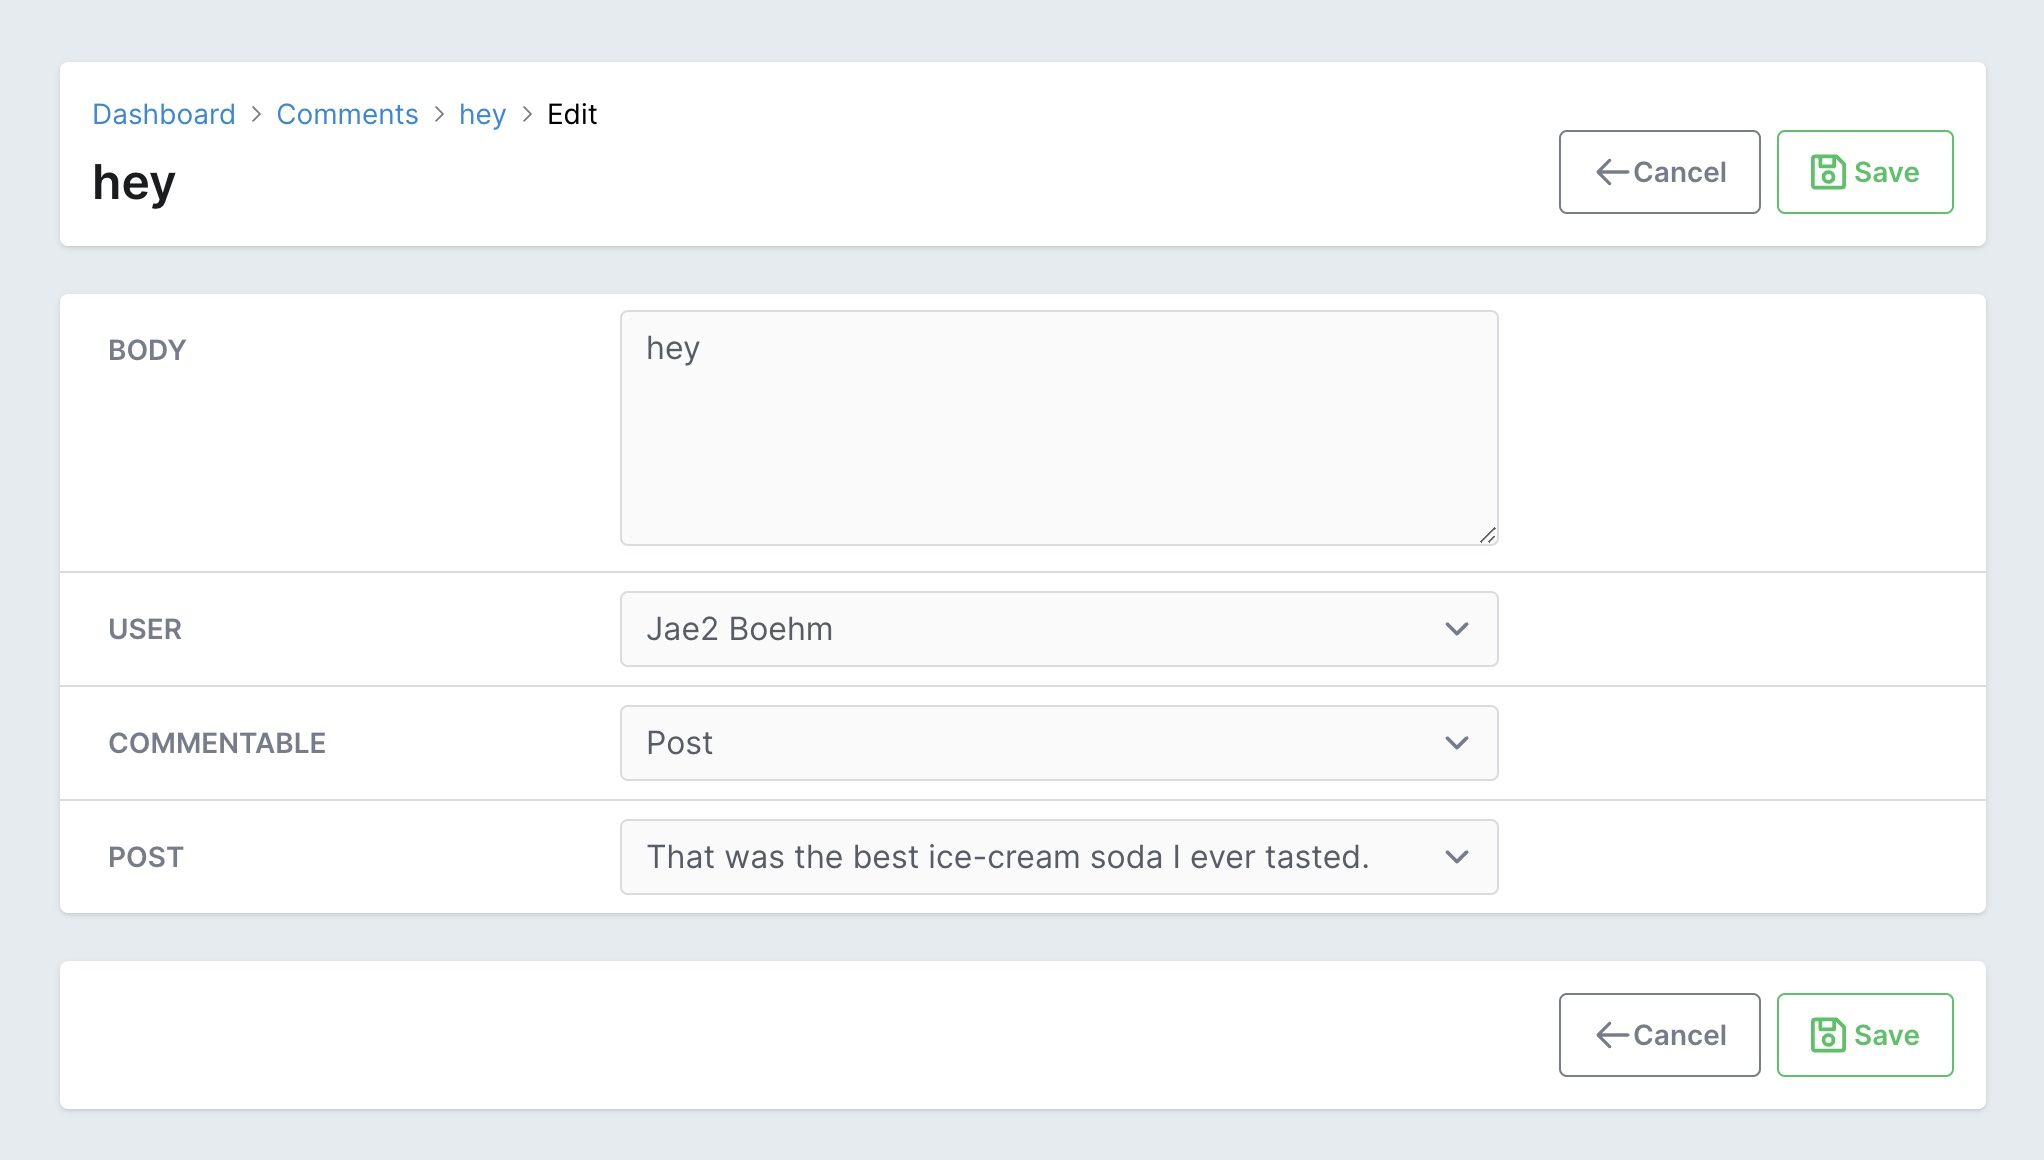
# Show buttons on form footers
If you have a lot of fields on a resource, that form might get pretty tall. It would be useful to have the Save button in the footer of that form.
You can do that by setting the buttons_on_form_footers option to true in your initializer. That will add the Back and Save buttons on the footer of that form for the New and Edit screens.
# config/initializers/avo.rb
Avo.configure do |config|
  config.buttons_on_form_footers = true
end
# Customize what happens after record is created/edited
For some resources it might make sense to redirect to something else than the Show view. With after_create_path and after_update_path you can control that.
The valid options are :show (default) or :index.
class CommentResource < Avo::BaseResource
  self.after_create_path = :index
  self.after_update_path = :index

  field :id, as: :id
  field :body, as: :textarea
end
# Hide the record selector checkbox
You might have resources that will never be selected and you have no need for that checkbox to waste your horizontal space.
You can hide it using the record_selector class_attribute.
class CommentResource < Avo::BaseResource
  self.record_selector = false

  field :id, as: :id
  field :body, as: :textarea
end
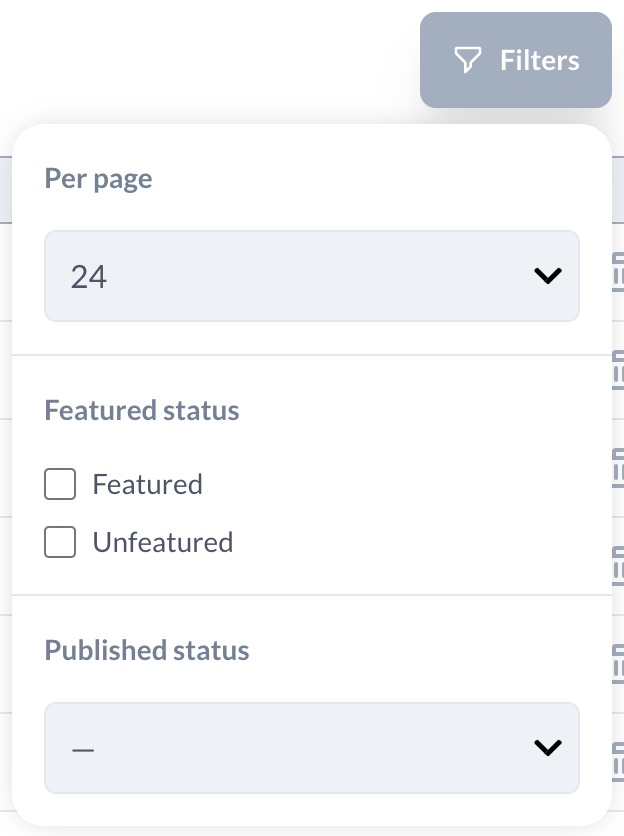
# Filters
It's a very common scenario to add filters to your resources to make it easier to find your records. Check out the additional Filters documentation to see how easy it is to set up custom filters with Avo.
# Actions
Most of the time, you will want to trigger some events against your records or run more heavy updates. Avo makes this so easy with Actions.
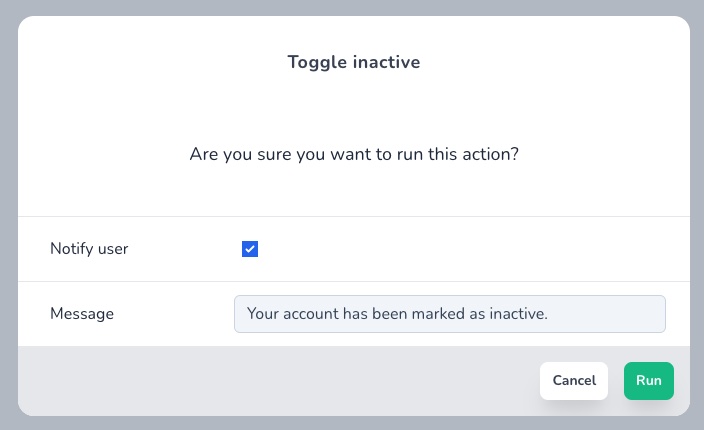
Check out the additional Actions documentation.
# Search
Check out the additional Search documentation.